先日作ったバックエンドに対して、Reactから情報を取るところまで。
追加とか削除は同じようにロジック追加するだけなので割愛。
目次
準備
nginxのDockerを立ち上げて、Reactをインストールしその上で作業。
以前Reactのインストールをnginx上で行ったので、そのDockerを使った。
もちろん、Docker上で試す必要はない。
React-Bootstrapのインストール
見た目とか色々いじるのはめんどくさいので、簡単なBootstrapを使用。
React-Bootstrapなるものがあるらしく、Reactのアプリを作成後にインストール。
いつも通り公式のGetting Startedを参考に
create-react-app frontend
cd frontend
npm install --save react react-dom
npm install --save react-bootstrap
この状態でnpm startすると前回のデモアプリと同じ以下の画面が出るはず。
PORT=80 npm start

続いて、Bootstrapを使うためにCSSを追加する。
vi public/index.html

# <link rel="stylesheet" href="https://maxcdn.bootstrapcdn.com/bootstrap/3.3.7/css/bootstrap.min.css" integrity="sha384-BVYiiSIFeK1dGmJRAkycuHAHRg32OmUcww7on3RYdg4Va+PmSTsz/K68vbdEjh4u" crossorigin="anonymous">
# を<head>内に追加
TODOを表示するテーブルを作成
src/App.jsにTODOリストのテーブルを追加。
todosに後々取得したデータが入る予定で、各行の表示はsrc/EntryRow.jsに記載。
import React, { Component } from 'react';
import { Table } from 'react-bootstrap';
import EntryRow from './EntryRow';

class App extends Component {
  constructor(props) {
    super(props);
    this.state = {todos: ''};
  }
  entryRow(){
    if(this.state.todos instanceof Array){
      return this.state.todos.map(function(object, i){
          return <EntryRow obj={object} key={i} />;
      })
    }
  }
  render() {
    return (
      <div className="App">
        <Table striped bordered condensed hover>
          <thead>
            <tr>
              <th>Id</th>
              <th>Name</th>
            </tr>
          </thead>
          <tbody>
            {this.entryRow()}
          </tbody>
        </Table>
      </div>
    );
  }
}
export default App;
続いて、src/EntryRow.jsにTODOリストの各行を追加するロジックを追加。
import React, { Component } from 'react';

class EntryRow extends Component {
  render() {
    return (
        <tr>
          <td>
            {this.props.obj._id}
          </td>
          <td>
            {this.props.obj.name}
          </td>
        </tr>
    );
  }
}

export default EntryRow;
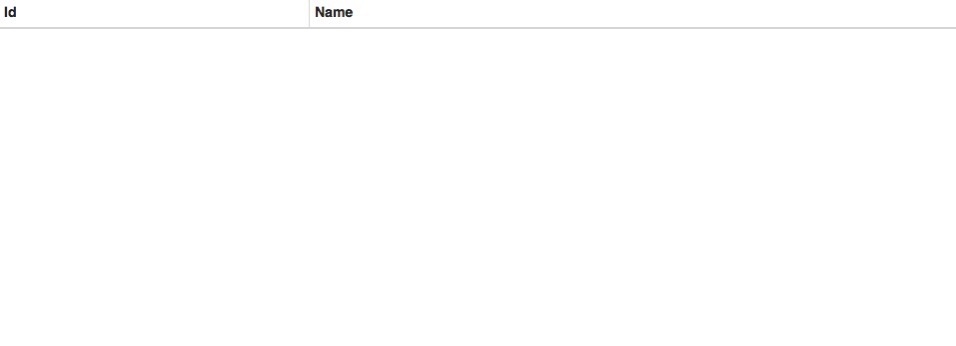
この状態で画面にテーブルができる。もちろん、todosの中は空なので何も表示されない。

TODOのリストを取得して表示
HTTPのリクエストにはaxiosを使用。
追加でaxiosもインストール。
npm install --save axios
src/App.jsに前回作成したフロントエンドに対してリクエストを投げるロジックを追加する。
頭にモジュールのインポートを追加。
import axios from 'axios';
リクエストのロジックをconstructorとrenderの間くらいに挿入する。 IPアドレスやポートなどは環境に合わせて。
  componentDidMount(){
    axios.get('http://<ip>:3000/api/tasks')
    .then(response => {
      this.setState({ todos: response.data });
    })
    .catch(function (error) {
      console.log(error);
    })
  }
動作確認
PORT=80 npm start
以前追加したタスクがあれば、画面に表示されるはず。

ちなみに、オリジン間リソース共有ができない設定では正しく表示されない。
テストなので、ChromeにAllow-Control-Allow-Origin: *などの拡張を入れて対応も可能。
おわり
やっと通して動くようになった。
次は、Dockerのイメージとして動かせるようにする。